Mother & Daughter Queen in the Same Hive

Have you ever found a hive with 2 queens in it at once?

I identified this colony about 5 weeks for queen replacement later in the season due to the age of the queen, she was still laying strong and let her live to harvest resources and brood for nucs, when I came back to harvest more brood today, I found mother and daughter on the same frame. It appears the hive went ahead and superseded the old queen, and either the were OK with ruling the hive together for a short time, or the young queen just had not yet found the old queen.

what are your thoughts or expert and amateur opinions?


Building Honey Bee Nucs

Honey Bee Nucs are made up in Spring or early summer to expand ones apiary. These are small nests, which will grow into full colonies throughout the season. This video describes how we put them together the way we would expect to receive them.

We put our nucs together with 3 frames of bees and brood and 1 frame with feed in it. These colonies are set to explode approximately 12 days after the customer receives them. There is really no set standard when making up nucs, but a good rule of thumb would be to sell products only that you would be excited to receive regardless if it is livestock, honey or any other equipment. Reputation is everything when selling livestock, and producers should take pride in their operation and the name behind it.


January 17th – Bees in a Manitoba Winter

How can you even keep bees alive in Canada? How do they survive the cold Manitoba winters? These are questions I often receive on social media from our friends in warmer climates.

Some of our hives sitting out in the first snowfall of the year.

It can get extremely cold here in Manitoba, this winter has been interesting to say the least, for the past 3+ weeks we have had many days with lows below -25C and windchill plummeting to -35C to -45C.

The Manitoba overwinter loss average is about 30-35%. Many beekeepers wrap their hives up with insulation, and cross their fingers all winter in hopes that they will make it through. I cross my fingers all winter as well, but I do things a little differently, I along with some other folks here in Manitoba, keep my bees indoors for the winter. This is not a new concept, bees have been wintered indoors and in cellars, for hundreds of year. But the techniques behind it have been greatly refined, with the rise in technology and ease of networking between beekeepers.

Our bees are heavily fed a sugar water solution going into winter, we want to ensure that they have enough feed to make it through 5.5 -6 months without any forage available. We feed them through pail-top feeders and they back-fill the entire brood nest with feed. Once fully fed they will weigh in at about 80-100lbs, most of this will be consumed before they see daylight again in spring. Once daytime high temperatures are consistently below 10C, we begin moving the bees indoors. This year we did it all in one night, shortly after the photo above was taken, the next day we received about 5 inches of snow, and I was glad not to be digging through snow to get the bees inside.

Hives stacked inside the wintering shed.

Once inside the shed the hives are stacked in rows to allow movement between the rows, and cleanup of spent bees. As the bees age they will leave the hive before they die, every once in a while I will walk the rows with a broom and sweep up the dead to keep things tidy. You can see some spent bees on the floor in the photo above.

A floor fan circulates the air for the time being until I find the time and cash to install ceiling fans. It is important to ensure there is air movement in the building to prevent layering of CO2, I have been told stories of folks who neglected air movement, and every single one of their hives at the bottom of the stack suffocated. I also have a small space heater set up for supplemental heating. Temperature, humidity, and CO2 levels are all monitored.

My preferred Levels are:
CO2: Under 2000ppm
Humidity: 50-60%
Temperature: 4C

Data Monitoring device, It was -29C out when this photo was taken, just prior to turning on supplemental heating

Bees produce a large amount of heat, to cool the shed we have a bathroom fan installed on a cool stat, It is set to draw outside air whenever tempatures rise above 6C. The shed is insulated and will maintain temperature using only the fans down to a low of -20C. As the days warm up in spring this fan will run continuously, and we are eventually forced to move the bees outside, hoping the warm weather will stay.

Anyone of any sized operation can set up an indoor facility, our first wintering shed was a 6’x8′ insulated garden shed, we wintered up to 32 colonies in there using a double nuc system, prior to converting a larger building.

Prior to deciding whether to winter indoors one should ensure their climate is right for the job, the most difficult part of wintering indoors is keeping the shed cool, our winters are great for this as we seldom see temperatures above freezing for about 4 months per year. If you see wild swings from negative to positive temperatures, indoor wintering is not an option you should consider.


July 25th, 2017 – Canola Flow

We have been having issues with our internet connection here at the farm and it now seems to be up and running. Those of you who follow us on Facebook and Instagram, have been getting our updates.

Over the past month, we have come through the main canola bloom, our hives are stacking tall and we are nearly ready for the second extraction. We pulled 18 supers or about 400 lbs of honey for those customers who had pre-ordered from us. The pre-order customers get first dibs the first harvest. We split our hives aggressively in spring and so that first harvest is usually quite small for us.

3 weeks ago many country roads looked like this, the canola bloom is now drying up.

Our next harvest, expected for next weekend should be more than 120 supers, 3-4000lbs is my expectation. We will be extracting this at a local beekeepers extracting facility instead of at home as we have in the past.

We picked up a wholesale contract with Beemaid this season and part of that contract is that our honey will be extracted at a CFIA certified honey house. Though we run a really clean operation, we have not yet been certified, this is the main project I will be focusing on over our 6 month winter. The Beemaid contract blows the door wide open, whatever we can produce they will take and market for us, the only thing holding us back from a rapid expansion is the lack of a facility to extract our own honey at home!

One of the obligations for having a contract is that a minimum of 5000 lbs must be delivered or the contract can be considered voided. I decided to join the waiting list to ensure that I had a shot at a contract for next season, when I expected to be ready for it. Several Beemaid members put in a good word for us, as they thought we would be a good fit for the Co-op. As chance would have it, we were chosen for a contract this season. This sent me scrambling to cover both my local obligation to the customers who have supported us over the last 5 years of growth and always had our back and also to hang onto the contract.

We got lucky, 5 miles from us a quarter section of canola has been reseeded, the fresh bloom began just as the bloom in our other locations began to dry off. We have moved the majority of our hives to this location and will get a double canola crop this season. The hives are stronger which means they will bring in plenty of honey over the next few weeks, which we could not have expected!


Back on the canola bloom! A reseeded field means a double canola honey crop for us this season! We were working on clearing grass and leveling hives in this new spot today.

We moved all the hives in through one evening and early morning, the hives were far too heavy to lift by hand, and I was borrowed a crane truck from my uncle to transport them. My uncle runs a monument company and the crane truck is used to transport and move heavy concrete and stone monuments. It was slow going and there were plenty of stings to go around, but my employee Miguel and I agreed that a double crop was worth 2 uncomfortable days of frustration. We got back to the yard today and leveled the hives, and added space to the ones that were ready for more room.

We like to get out and have fun too. This was our pick to win for the chuckwagon races at the Morris stampede this past weekend, can you guess why?

Very excited to see where we end up over the next few months!


June 24th – Double Nuc Growth Strategy

A little later than I thought I would be getting around to posting this but here it is.

After my last post, many folks have been asking about how I set up and manage my double nucs, for production. I will try to explain it below as clearly as possible, with photo illustrations. One thing to note, keeping multiple colonies in a single hive setup is not an original idea, I have borrowed much of what I do from the techniques of other successful beekeepers, modified to fit to my location, and management strategy. This strategy has been very successful for us, 5 years ago we bought our first 5 hives, we have never purchased another colony of bees since and I believe we are running in the neighborhood of 100 colonies this season! It works and you should try it!

It was raining out so I went into the equipment shed to take photos of the setup, there are no bees in the equipment, but not necessary for our purpose here.

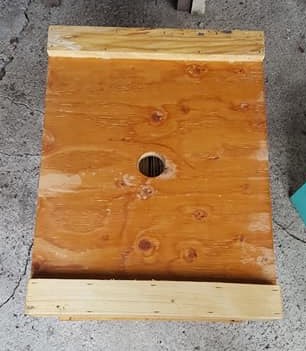
Many were interested  in how I set up my bottom boards. As I am using queen cells in these nucs and mating queens, I have set up my bottom boards to have opposing entrances. Having opposing entrances helps keep mating queens from entering the incorrect nuc after flights, it also reduces drift within the double nuc keeping both colonies exiting their own entrance (for the most part) and supporting their own queen.

Double nuc bottom board with opposing entrances

The bottom board is made of plywood with 2×2 runners underneath to keep it up off the soil, and also easy to pick up.

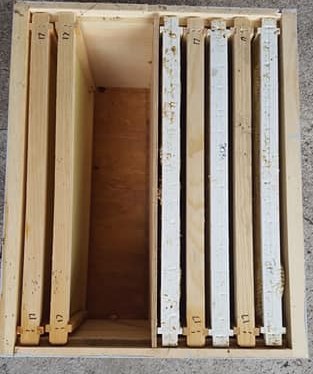
The double nuc box itself is a regular deep super, without handles on the front or back. A 1/4″ divider is placed into the hive by cutting a 1/4″ wide by 3/8″ deep dado cut, down the center of your front and back panels on the super prior to assembly. Why 3/8″ deep? The frame rests on the front and back of the super are 3/8″ deep, in order to ensure there are no gaps for the queens to get through to the opposite chamber, you want to make sure your divider butts up against the back of the frame rest rather than the inside of the super.

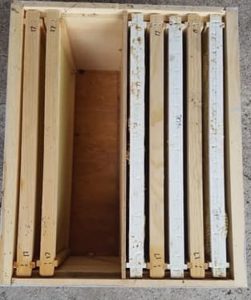
The double nuc super is a regular super without handles on the front or back and a 1/4″ divider down the center

It is very important that the divider is a perfect fit, any gaps, top or bottom or by the frame rests with allow the queens to cross over and render the boxes useless for the double nuc setup.

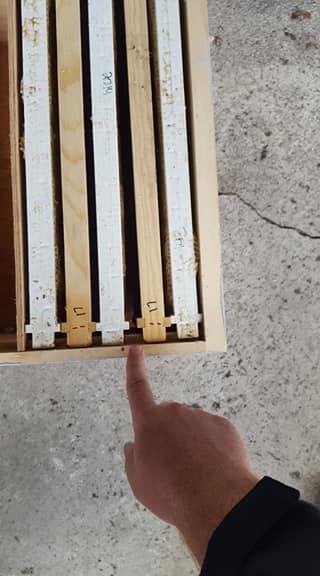
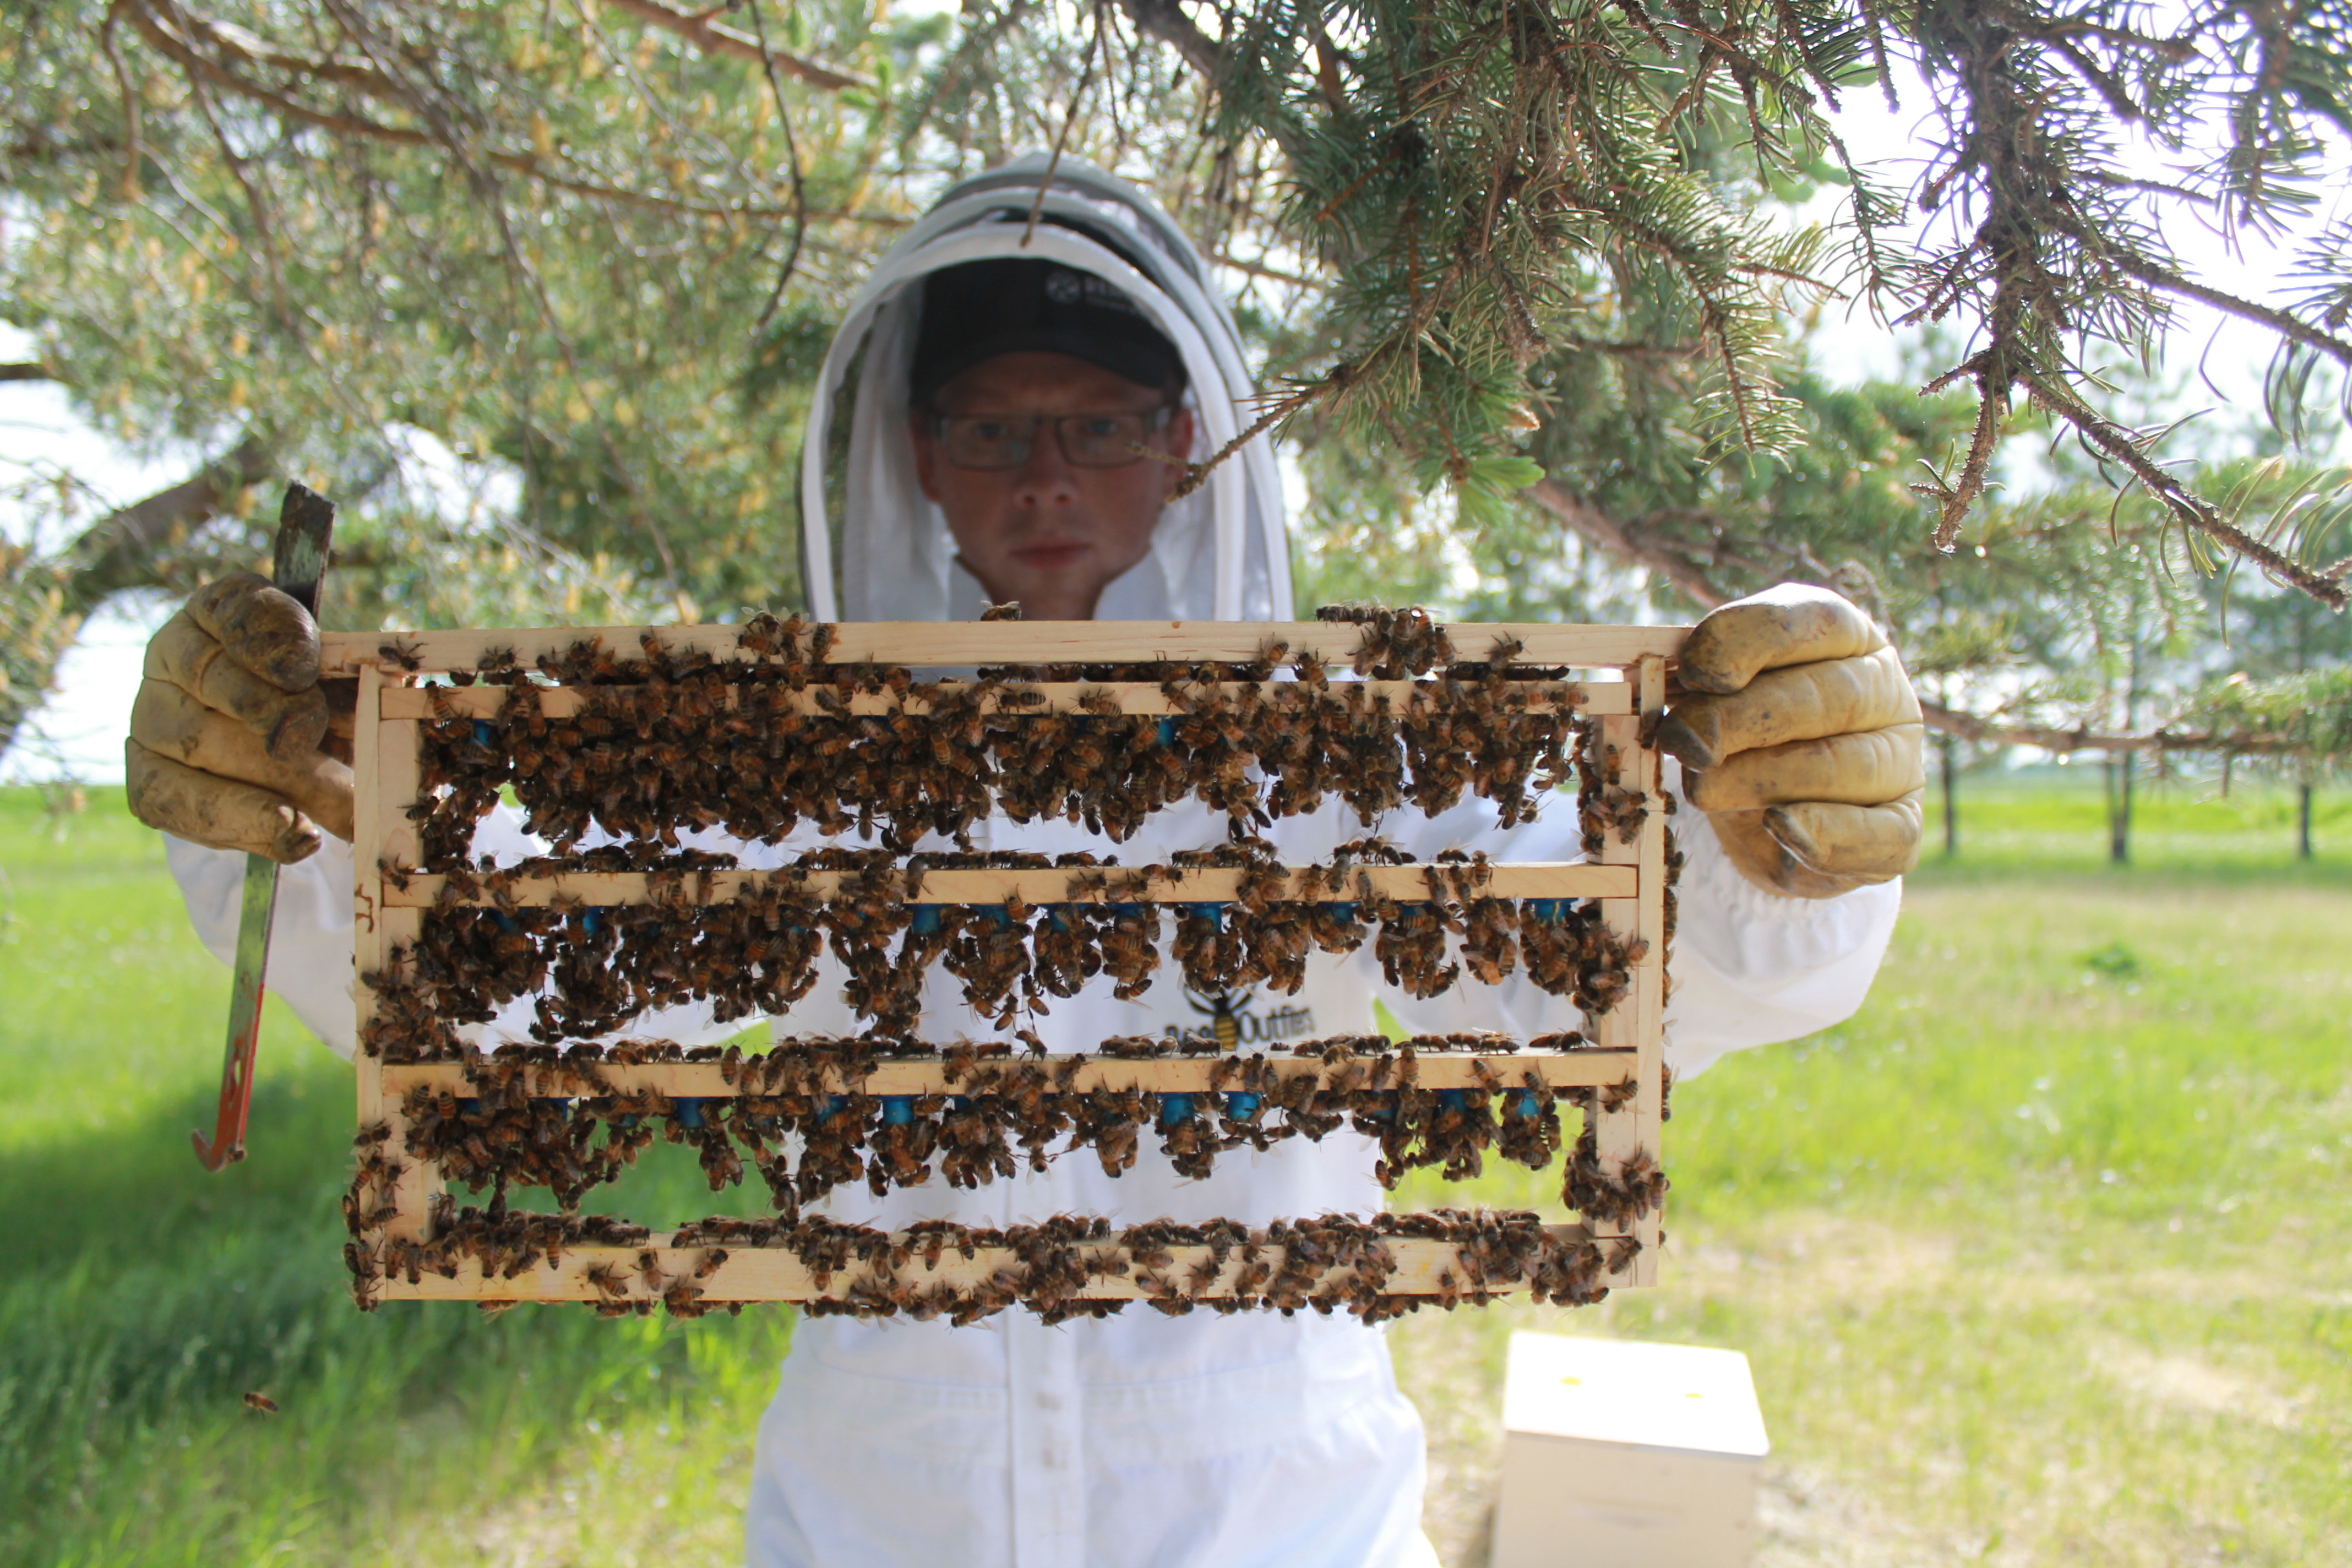
Through trial and error I have learned that 1/4″ is the best width for the divider, I tried 3/8″ and the frames just sat too tight in the boxes, that extra 1/8″ makes a big difference! I have also noticed that the bees build far less propolis on the frame sidebars of plastic frames. I try to have 3 out of 5 frames in each double nuc side plastic to allow room when pulling frames for inspection, a rolled queen means alot of work wasted.

using plastic frames allows room for frame movement when bees propolize the frames together

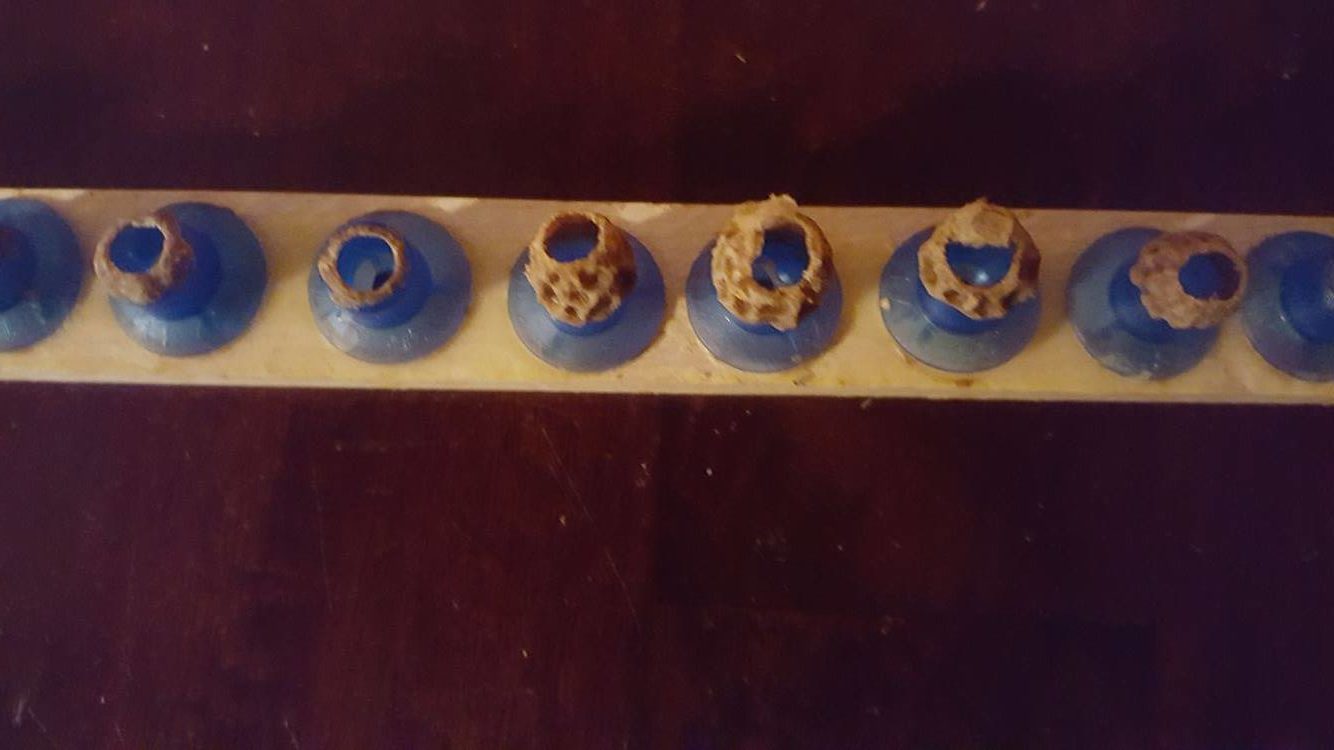
My splits are made up with 2 frames of bees and brood and a frame of pollen and honey  for each side of the double nuc box, one can either add a queen cell or a mated queen. With a mated queen I have made up splits with only one frame of brood quite successfully.

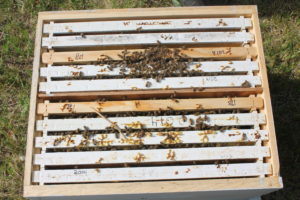
Nucs are made up, 2 frames of brood and 1 frame of pollen and honey

You will then close up the hive with 2 separate inner covers, one for each side, I make these simple as they are only on the hive for a few weeks a year. a piece of 5/8″ plywood with a 2″ pail feeder plug. You will want to keep the populations of the 2 hives separated until the queens on both sides have established their nests and filled their side with pheromones. Having these 2 covers allows you to open one side without worry of a queen crossing over from the other while you work.

Having separate inner covers allows you to work in one side without disturbing the other.

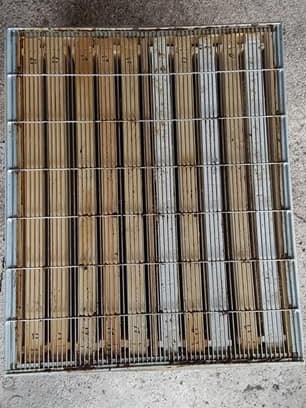
Once the flow begins you will pull off the inner covers and insert a queen excluder to keep the queens separated, but allow the hive populations to mingle and work together to store honey above the 2 brood nests. Metal Queen excluders must be placed upside down with the bars runneing parallel to the divider and touching the entire length, otherwise the queen can squeeze under it (I give them a slight bend in the middle to be sure). In my opinion plastic queen excluders are garbage, they warp and don’t lay flat, stay away from these if you want to run 2 colonies in a single box.

Queen excluders are set upside-down to prevent the queens from crossing over the middle divider

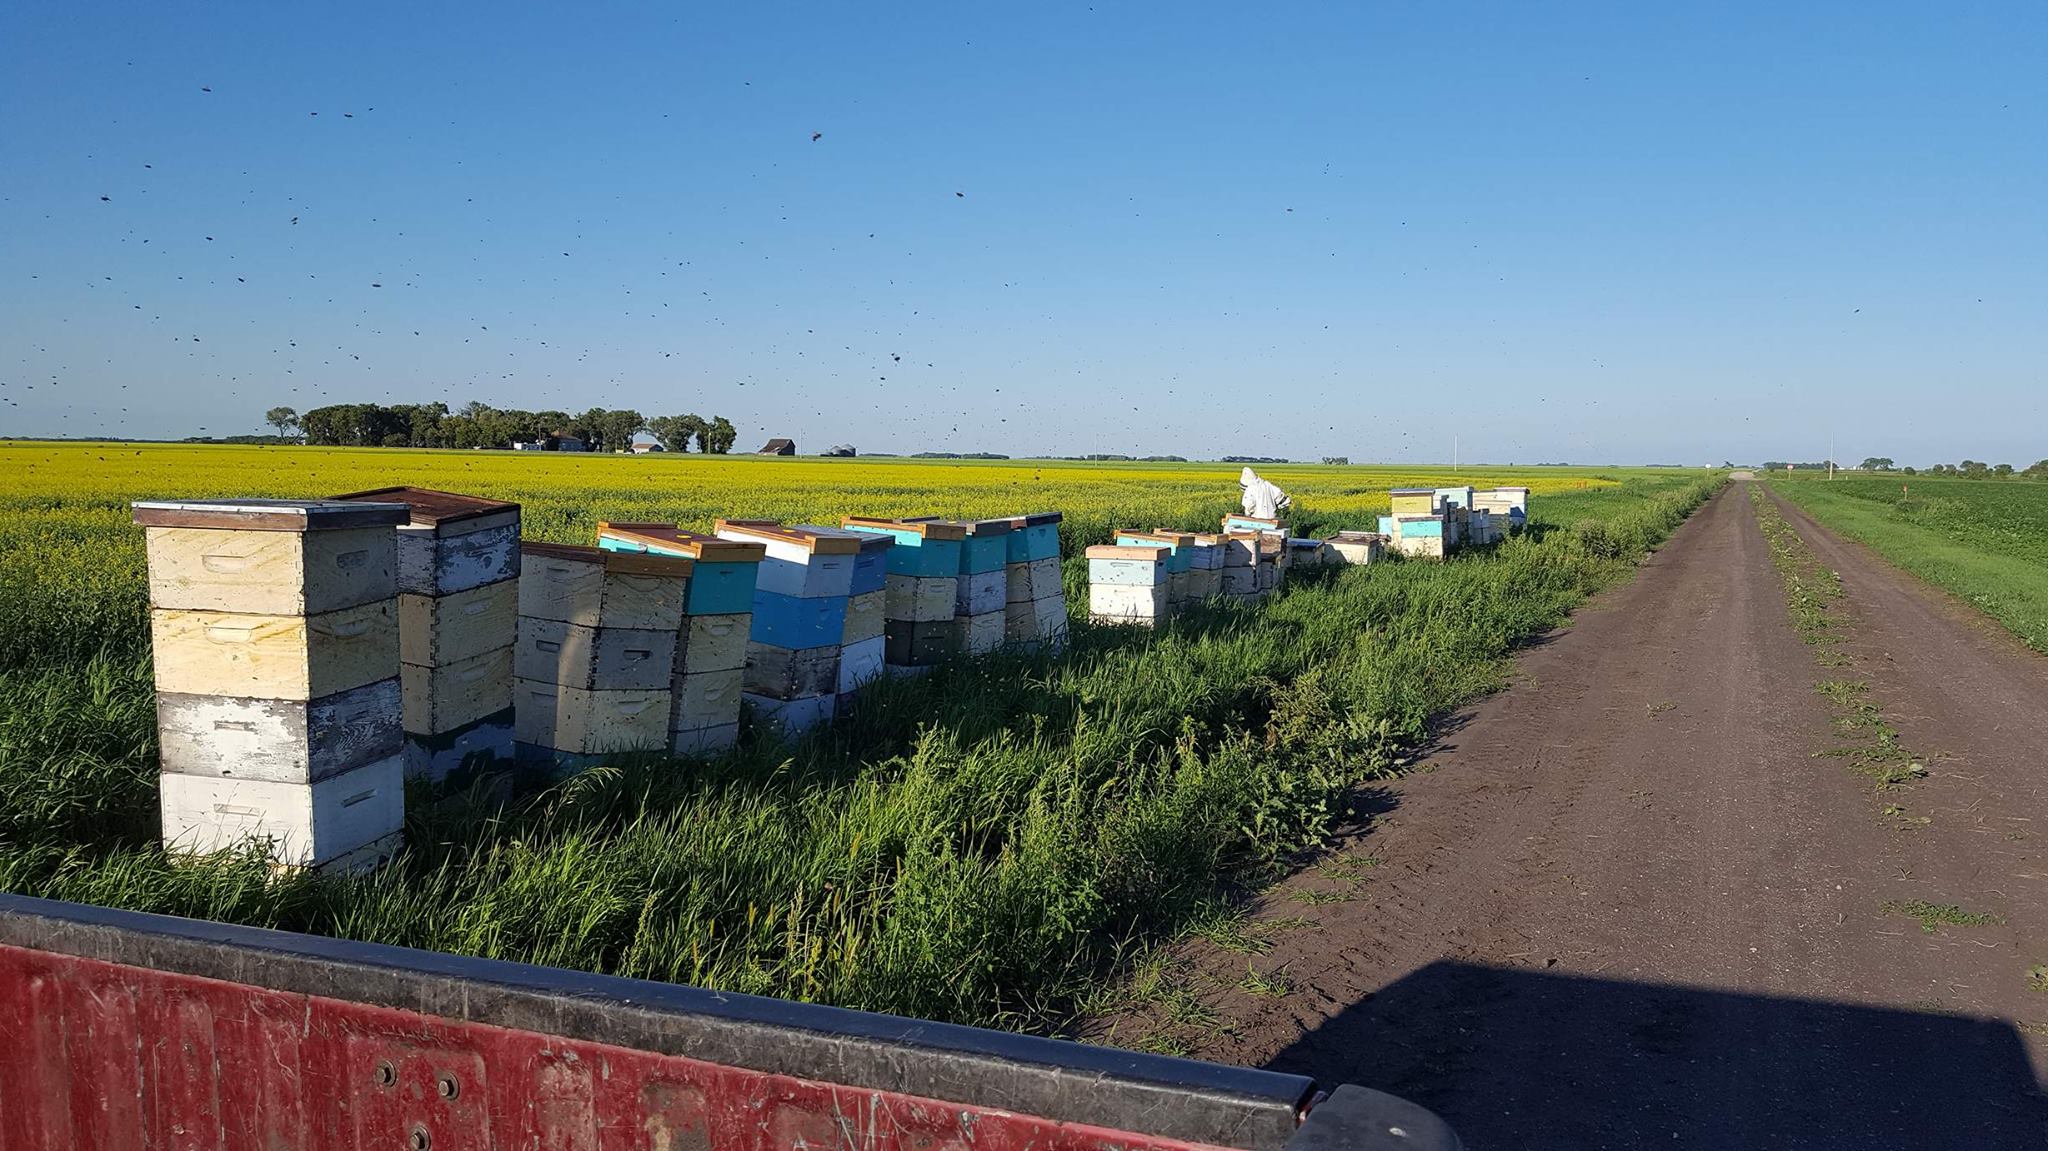
You can then run them like a single deep production hive for the rest of the season.

Honey supers are placed above the 2 colonies to be filled

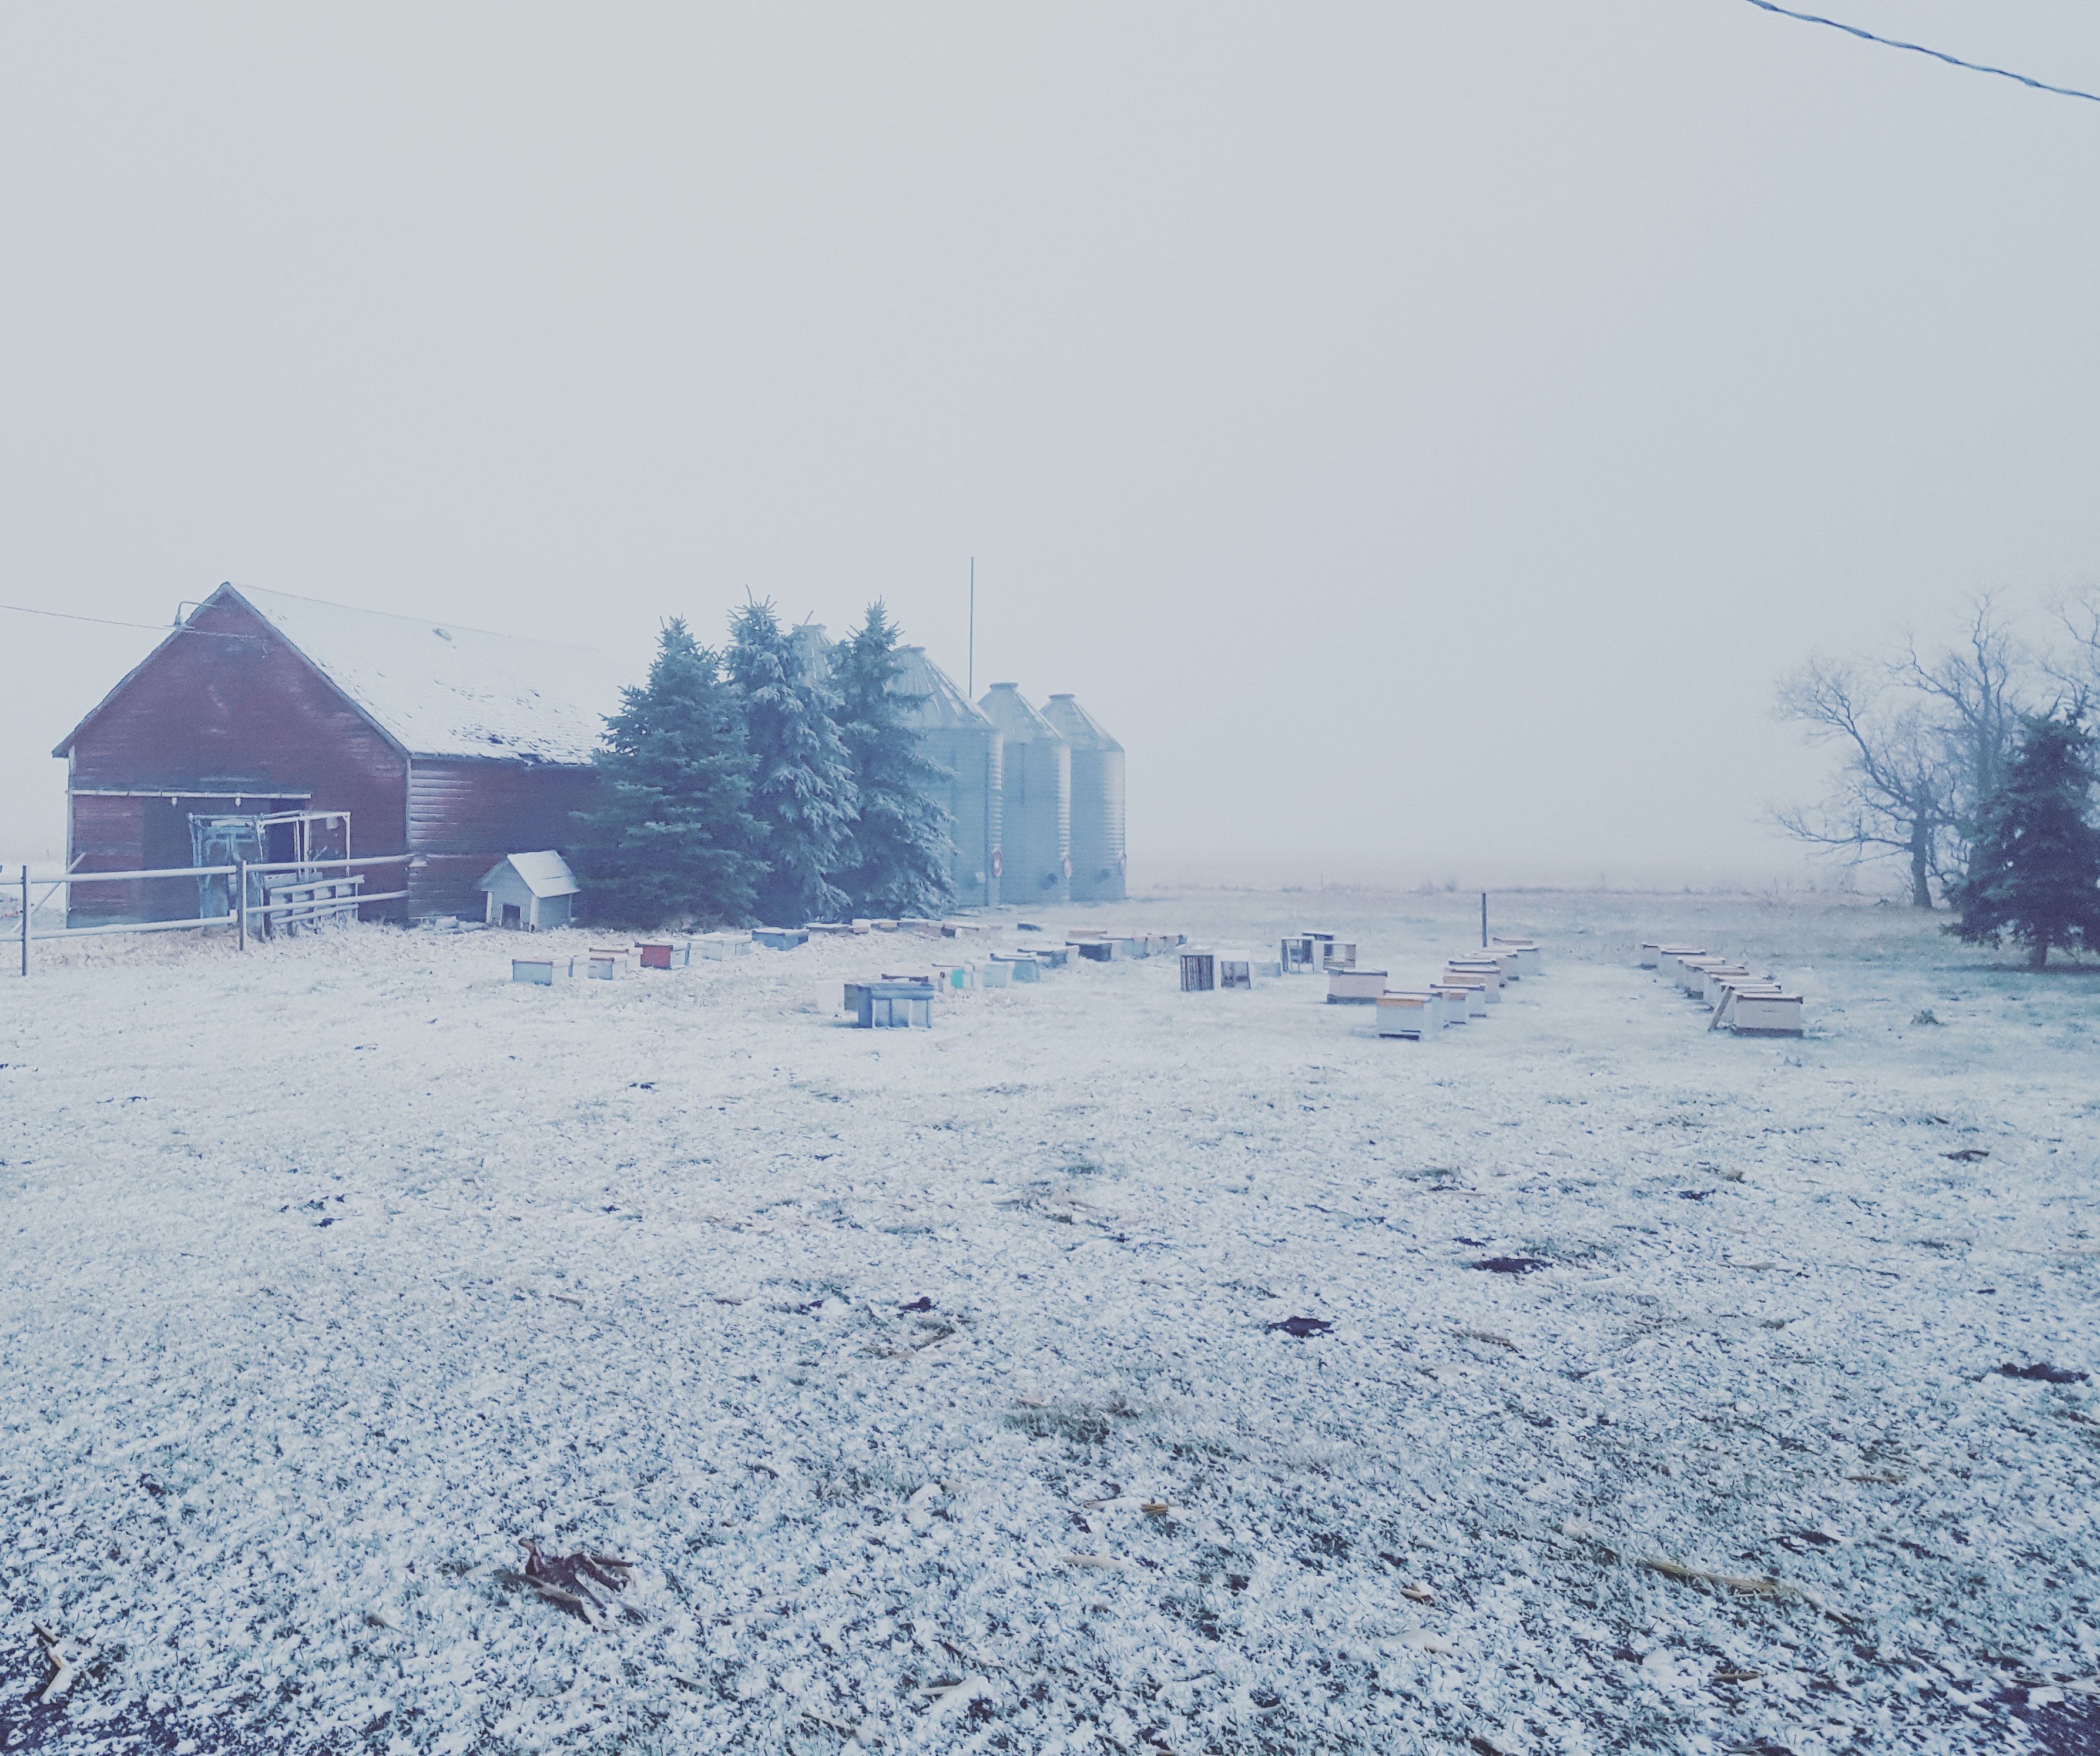
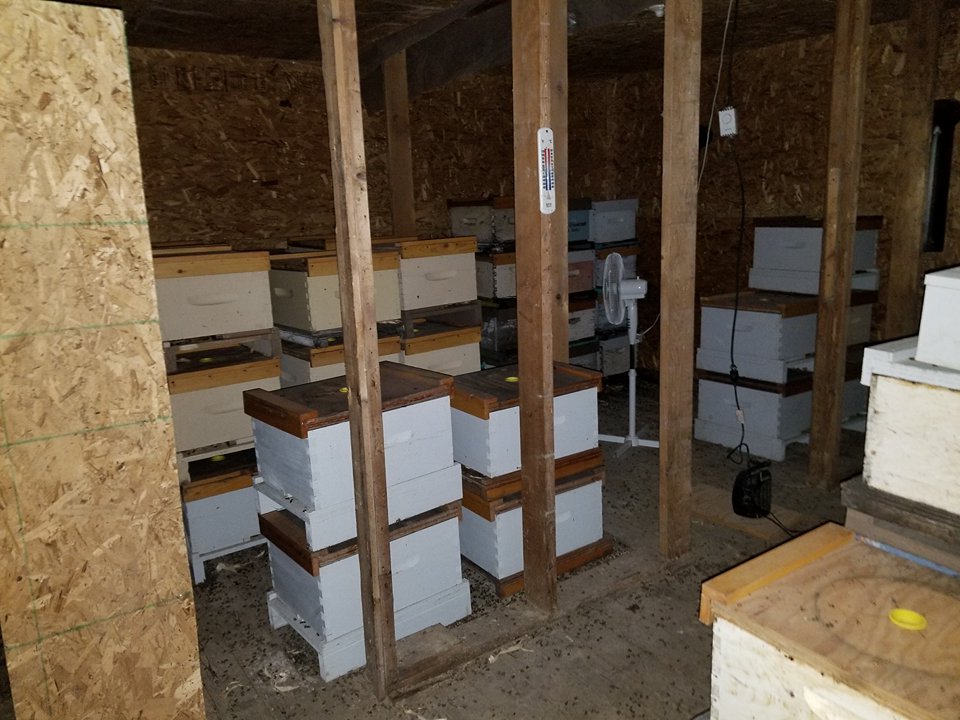
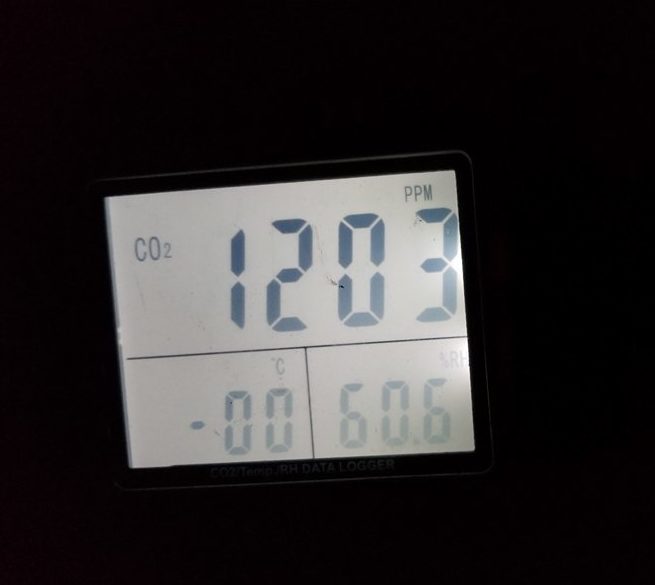
In fall when feeding begins, leave the excluder on the hive and use a regular migratory top or inner cover to feed both colonies with a pail feeder. To winter them in a single you will need them to completely back-fill the brood nest, we feed 5-6 gallons of 2:1 syup in the fall to each double nuc, this is plenty to get them through 5-6 months of winter in the bee shed.

Both colonies are fed in fall with a single hive top pail feeder

If you found this post useful or interesting feel free to let me know and share it with your beekeeping friends on social media!


June 4th – Splitting to Nucs

This past Tuesday we ran into some problems with our first graft, we had an early hatch in the queen cell finisher and lost half of our queen cells. When a virgin queen hatches she goes around the hives and tears down all the other existing cells to claim the hive for herself. Usually there is only one queen per colony, and this is just how nature works, timing is everything when making queens.

hatched and torn queen cells still on the finisher cell bar

So on Wednesday I started again! Many folk get discouraged rather than learning from experiences and pushing past errors and obstacles. If you want to be successful in livestock management you have to accept failures and try again. You don’t become successful by feeling sorry for yourself and not pushing ahead.

Lucky for me, I am afforded a flexible schedule at work and could take Friday off with relatively short notice. One of my beekeeping neighbors, about a 45 minute drive away had 30 cells he made available to me. I picked them up and put in 12 hours of bee work during the day. It was sweltering…. 36C was the high for the day, much warmer under a bee suit!

My splitting technique uses what folks call double nuc colonies, two 5 frame nucs in a regular deep box, I set them up to have opposite facing entrances so the queens don’t accidentally end up in the same hive after mating flights.

A regular deep brood box, split by a 1/4 inch divider will house to production nucs for the remainder of the season and through winter.

I run these double nucs straight through the flow and pull 60-100 lbs of honey off them. They also winter in this setup, sharing heat, improves survival, also if one side fails the other side just becomes a strong nuc.

when splitting I like to use 2 frames of bees and brood and one frame of honey/nectar per new colony. The queen cell is pressed into one of the brood frames to hatch out in the new hive.

The queen cell is pressed into one of the brood frames to hatch out in the new colony

The new hive is then covered with 2 separate inner covers, to keep the colonies from mixing while the queens are bred and the hive builds up in strength. If feed frames are in short supply I have feeder holes drilled in them and a removable plastic plug to use feeder pails.

Within the next 15 days these hives should all have a mated queen and be ready to produce a small honey crop for me to pay their own way.

I have used this technique successfully over the past 4 seasons, and am somewhat proud to be able to say, the 5 original hives I purchased my first year, are the only colonies I have ever purchased. We have split using the double nuc system and this year should have between 125-150 colonies if things go smoothly going forward… This is how you keep bees successfully, make bees and buy equipment, bees can die overnight and will be a complete investment loss if purchased, your equipment will always hold value.

Lets go back to when I said I started again on Wednesday, Several things I changed this time around, I primed the cells with a small amount of water to keep the fresh brood moist and help it float off the grafting pen easier. I also made my cell builder much stronger and congested this time. I took a strong double deep hive and shook all the bees down into a single box, then I shook another 5 frames of nurse bees into the hive, from another strong hive in my yard. You want the bees to plow all of their energy into making excellent queens, the more nurse bees are in the hive, the more the cells will be cared for.

My cell builder colony, during mid day heat. it is more full than it looks in photos

My queen cell frames hold 48 cells on 3 bars. These cells are covered in nurse bees, a good sign!

I had an 80% graft acceptance rate on this run, and they all look amazing! Here are the cells as a result of the changes I made, are they not the most beautiful things you have ever seen?!?

Absolutely gorgeous queen cells, these will make large strong healthy queens!

Lets see if I can get the timing right this time!